
Introduction to Artisan Bread
Why homemade artisan bread is a game changer
If you’ve ever walked into a bakery and inhaled the intoxicating scent of freshly baked bread, you might have wondered why you should bother making your own. Here’s the kicker: homemade artisan bread can elevate your meals and moments in a way store-bought bread just can’t.
The magic lies not just in the taste, which is unparalleled, but in the experience of crafting something tangible and nourishing. Imagine your kitchen filled with the comforting aroma of baking bread. It’s not just about feeding yourself; it’s about creating a sensory experience.
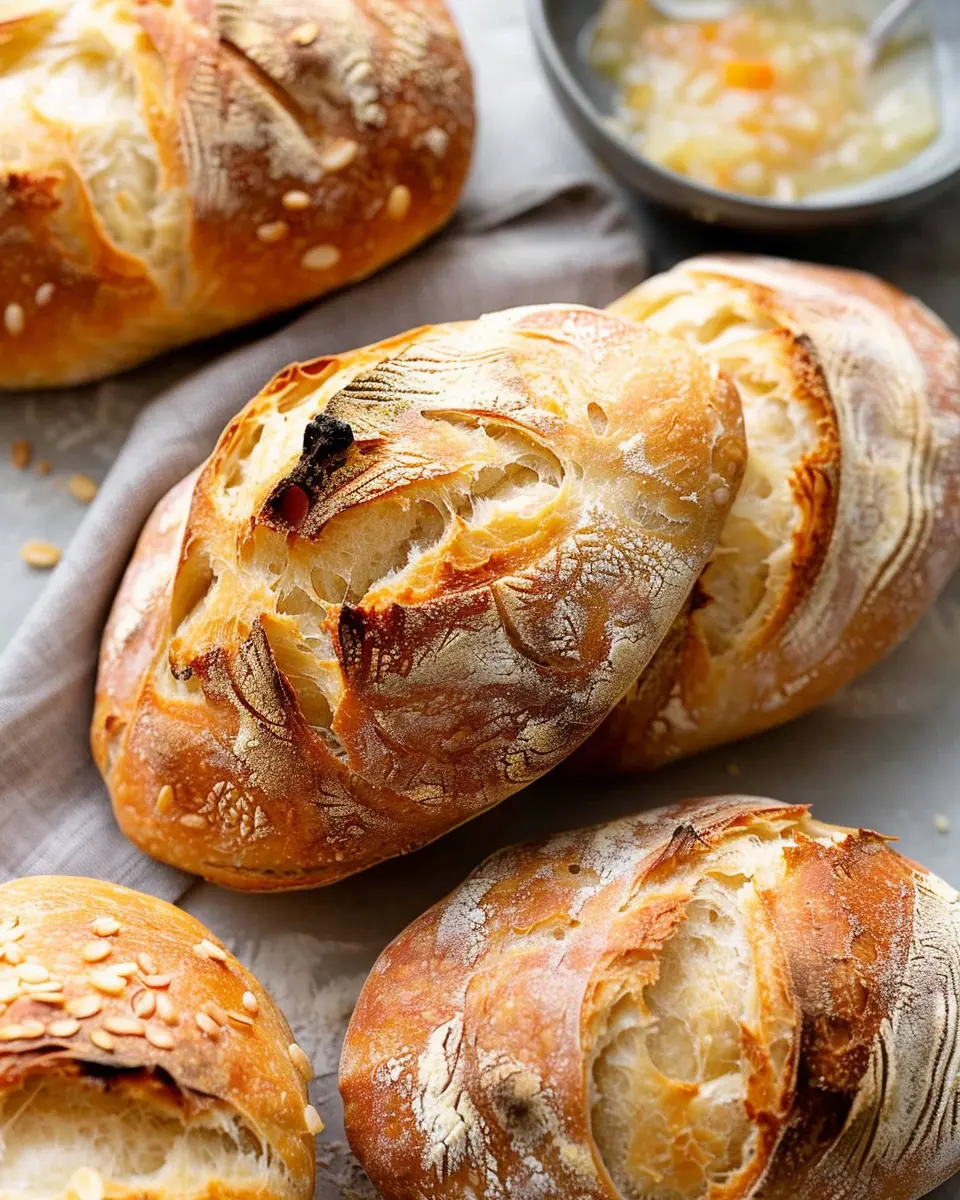
Artisan bread is often characterized by its rustic appearance, crusty exterior, and a chewy, flavorful crumb. Unlike mass-produced loaves, artisan bread undergoes a meticulous process, often involving longer fermentation times. This slow rise enhances flavor and texture, resulting in a product that’s not just good but memorable.
Making your own bread also means you have total control over the ingredients. Want to use whole grains, experiment with herbs, or swap out chicken ham for turkey bacon? Go for it! Resources like King Arthur Baking and The Bread Lab provide excellent guidance for ingredient substitutions and techniques.
Besides the deliciousness factor, there’s an incredible sense of satisfaction that comes from kneading dough and waiting for it to rise. Have you ever participated in a cooking class, where the hands-on experience made you feel accomplished? Baking bread gives you that same thrill, and it’s available right in your own kitchen.
Not only is it a delightful endeavor, but baking bread also has health benefits. You can control the nutrition components, reducing preservatives and adding wholesome ingredients. Homemade artisan bread can even be more cost-effective than those high-priced artisanal loaves you love, allowing you to enjoy gourmet flavors without breaking the bank.
So, whether you’re a cooking novice or a seasoned kitchen warrior, embarking on this artisan bread recipe journey could very well change your culinary life. Let’s get started and make something delicious!
Ingredients for Artisan Bread
Baking artisan bread at home is not just a culinary task; it’s a rewarding experience that fills your kitchen with warmth and a delightful aroma. Let’s dive into the essential ingredients for a simple artisan bread recipe that you can master with ease.
Essential ingredients for a simple artisan bread
To create that perfect loaf, you’ll need:
- All-purpose flour: Provides the backbone of the bread; consider using bread flour for an even chewier texture.
- Water: Hydration is key! Aim for warm water (around 100°F) to activate your yeast properly.
- Salt: Enhances flavor and strengthens gluten structure.
- Yeast: Use active dry yeast or instant yeast; both will give you a lovely rise. Not sure which to choose? Check out this helpful guide for more insights!
- Optional add-ins: Feel free to experiment with seeds, herbs, or even dried fruits to add your personal touch.
With these ingredients, you’re all set to embark on your baking adventure. Have you ever tried incorporating unique flavors into your bread? Let your creativity shine! Whether you want a simple loaf or something with a twist, artisan bread can adjust to your tastes.
Step-by-step Preparation of Artisan Bread
Baking artisan bread isn’t just a culinary task; it’s a rewarding journey that transforms simple ingredients into a delightful loaf that can elevate any meal. Follow this artisan bread recipe to create your masterpiece, and let’s break it down step by step.
Mixing the Ingredients
Before your masterpiece can begin, you’ll need to gather the essentials. Here’s what you’ll need:
- 4 cups of all-purpose flour
- 2 teaspoons of salt
- 1 teaspoon of sugar
- 1 teaspoon of instant yeast
- 1 ¾ cups of warm water (about 110°F or 43°C)
- In a large mixing bowl, combine the flour, salt, sugar, and instant yeast. Stir gently until everything is evenly mixed.
- Gradually add the warm water. Mix with a wooden spoon or your hands until a shaggy dough forms. It’s okay if it looks messy; this isn’t about perfection just yet!
Mixing your ingredients well at this stage is crucial for achieving that lovely, airy crumb you find in artisan bread. According to food scientists, a good mix helps to develop gluten, which provides the dough with structure and strength.
The First Rise
Now, let’s allow our dough to work its magic.
- Cover the bowl with a clean kitchen towel or plastic wrap.
- Place it in a warm area to rise for around 1 to 2 hours. The dough should at least double in size during this time.
This first rise, also known as the fermentation phase, allows the yeast to activate and create those beautiful bubbles within the dough.
Cold Fermentation for Flavor
Want to add depth to your bread’s flavor? This is where cold fermentation comes in.
- After the first rise is complete, gently deflate the dough and transfer it to a lightly floured surface.
- Shape it into a ball, then place it in a lightly greased bowl. Cover it tightly with plastic wrap.
- Refrigerate for 12 to 24 hours. The longer, the better for flavor!
This process not only enhances the bread’s flavor but also improves its texture. Plus, it allows for maximum convenience! You can prep your dough ahead of time and bake it when ready.
Shaping the Dough
When you’re ready to bake, it’s shaping time! Here’s how:
- Take your chilled dough from the fridge and let it come to room temperature for about 30 minutes.
- On a lightly floured surface, gently stretch and shape it into a round or oval loaf.
- Use your hands to tuck the edges under, creating tension on the surface of the dough.
Shaping is vital as it helps to maintain the structure of your loaf. This will ensure that the ideal rise happens during baking.
The Final Rise
Every loaf needs a little extra TLC before hitting the oven.
- Place your shaped dough onto a piece of parchment paper or a floured banneton (a bread-rising basket) to rest.
- Cover it lightly and let it rise for about 30 minutes to an hour until it has puffed up nicely.
This final rise allows the dough to relax, leading to an airy texture post-baking.
Scoring and Baking
At last, the moment you’ve been waiting for: baking!
- Preheat your oven to 450°F (232°C) at least 30 minutes before baking.
- If you have a baking stone or a Dutch oven, place it in the oven to heat up.
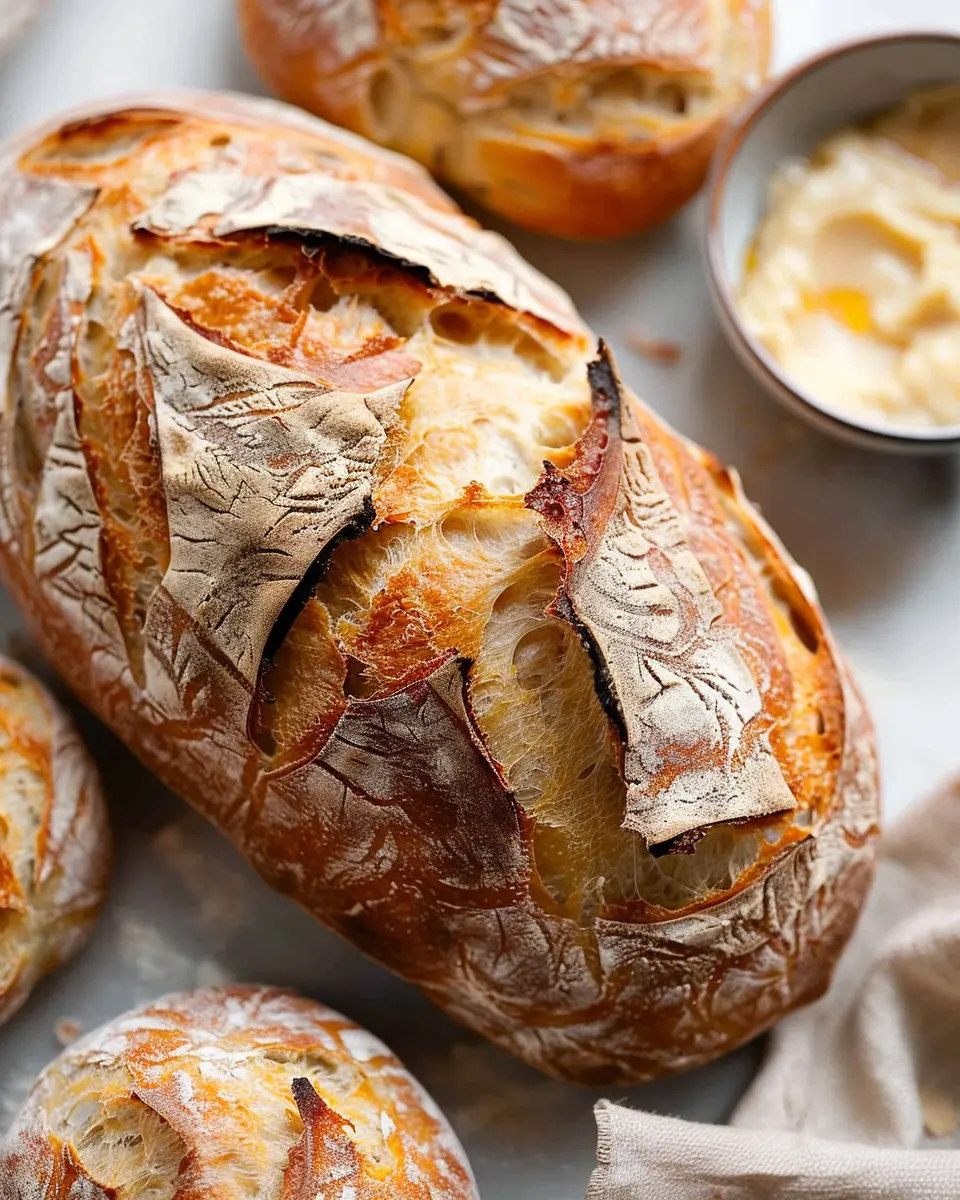
- When ready, score the top of the dough with a sharp knife or razor blade—this allows the bread to expand beautifully while baking.
- Carefully transfer your loaf into the hot Dutch oven, cover it, and bake for 30 minutes. Then, remove the lid and bake for an additional 15-20 minutes until it’s golden brown and crusty.
The moment you pull your artisan bread from the oven and take in that unmistakable aroma, you’ll understand why so many enthusiasts are hooked on baking their own bread. Share your baking story with others and consider checking out this guide on bread baking science to take your bread game to the next level.
And there you have it! A step-by-step breakdown of creating your artisan bread. Enjoy the process, savor the smells, and most importantly, relish every bite of your creation!
Variations on Artisan Bread
Whole Wheat Artisan Bread
If you’re looking to boost your whole grain intake, making a whole wheat artisan bread is an excellent option. This hearty variation not only delivers extra fiber but also a nutty flavor that pairs beautifully with a variety of spreads and toppings. To achieve a soft, airy texture, mix 50% whole wheat flour with all-purpose flour. You’ll find that the nutty taste enhances everything from turkey bacon sandwiches to a simple butter spread. Need more guidance? Check out the full artisan bread recipe for tips!
Herb-Infused Artisan Bread
Who says artisan bread has to be plain? Elevate your baking game by experimenting with herb-infused artisan bread. Incorporate fresh herbs like rosemary, thyme, or basil into your dough for a fragrant twist that brings any mealtime to life. Imagine enjoying a slice topped with a bit of olive oil or alongside a rich tomato soup. Not sure how much to add? A handful usually does the trick, but feel free to taste and adjust. This is where your creativity can shine!
Seasonal Artisan Bread
With each changing season, you can create delightful variations like pumpkin artisan bread in the fall or cranberry artisan bread around the holidays. These seasonal ingredients not only add unique flavors but also visual appeal. Pumpkin bread is perfect for cozy autumn gatherings, while cranberry bread brings a festive feel to winter celebrations. Incorporating spices like cinnamon or nutmeg will enhance these flavors even further.
Experimenting with these variations allows you to personalize your artisan bread journey, inviting friends to share in the deliciousness. So, what will you create next?
Cooking Tips and Notes for Artisan Bread
Tips for achieving the perfect crust
Achieving that irresistible crust on your artisan bread is all about balance. You want it crispy yet tender. Here are some pro tips to nail it:
- Use a high-quality flour: A bread flour with a higher protein content leads to better gluten development, giving you that essential structure.
- Preheat your oven thoroughly: A hot oven is crucial. Ensure it’s preheated to 450°F (232°C) before sliding in your loaf.
- Work with a baking stone or steel: This helps retain and radiate heat evenly, creating a beautiful crust. If you don’t have one, a heavy duty baking sheet can also do the trick.
Importance of steam in baking
One of the secrets to a beautiful artisan bread recipe is steam. During baking, steam prevents the outer crust from hardening too quickly, allowing for expansion.
- Include a steaming method: Consider placing a small pan of hot water in the oven while your bread bakes, or spritzing the inside of your oven with water using a spray bottle right after placing the bread in.
- Bake with a Dutch oven: This is an excellent option. It traps steam, resulting in a wonderfully airy crumb and a crisp crust.
These techniques ensure your homemade bread is not only delicious but as beautiful as the loaves from a local artisan bakery. For more tips on baking, like checking out resources from King Arthur Baking can broaden your skills!

Serving Suggestions for Artisan Bread
Best toppings and pairings
When it comes to elevating your artisan bread, the right toppings can make all the difference. Consider slathering your bread with creamy goat cheese or a velvety butter, which complements the crusty texture beautifully. If you’re in the mood for something heartier, try layering on slices of Turkey Bacon or Chicken Ham; both balance the bread’s rustic profile perfectly.
For a flavor explosion, top it off with fresh herbs, roasted vegetables, or a drizzle of balsamic glaze. And don’t forget about sweet spreads! A bit of honey or fruit jam can transform your bread into a delightful breakfast treat.
Ideas for artisan bread-based meals
Your artisan bread recipe isn’t just for sandwiches or sides; it can be the star of your meal! Consider crafting a warming bowl of soup or a zesty salad, where your bread serves as the ideal accompaniment. You can also make classic bruschetta with diced tomatoes, basil, and a dash of olive oil for a refreshing appetizer. For a cozy dinner, use your bread for savory bread puddings or strata, creating a dish that’s both comforting and sophisticated.
Expand your cooking possibilities with ideas at reputable sources like Serious Eats or New York Times Cooking. Let your creativity shine with your artisan bread, and enjoy every delicious bite!
Time Breakdown for Artisan Bread
Preparation Time
Crafting your artisan bread recipe begins with about 20 minutes of hands-on preparation. This includes gathering your ingredients, mixing them together, and creating that perfect dough.
Rising Time
Patience is key here! After you’ve kneaded the dough, it will need 1 to 2 hours to rise. This period allows the dough to develop its flavor and texture. You can enjoy a quick coffee or take a moment to relax while waiting.
Baking Time
Once the dough has risen, baking takes around 30 to 40 minutes. Keep an eye on your bread to achieve that beautiful, golden crust.
Total Time
In total, you’re looking at approximately 2 to 3 hours from start to finish. But remember, most of that time is just letting the dough do its thing! For tips on perfecting your baking technique, consider resources like King Arthur Baking or The Bread Lab.
So, gather your ingredients and enjoy this fulfilling process—there’s nothing quite like the aroma of fresh artisan bread filling your home!
Nutritional Facts for Artisan Bread
When you’re diving into your artisan bread recipe, understanding the nutritional profile can elevate your baking experience. Here’s a quick look at what makes this bread not only delicious but also a wholesome choice for your meals.
Calories
A single slice of artisan bread typically contains around 80-100 calories. This can vary based on the specific ingredients and serving sizes used in your recipe. Having some bread with a protein-rich topping will keep you satisfied longer without tipping the calorie scales dramatically.
Fiber
One of the standout features of artisan bread is its fiber content. Depending on the flour used, you can find 2-4 grams of fiber per slice. Fiber is crucial for digestive health and can help stabilize blood sugar levels, making it a worthy addition to your diet. Whole grain options, in particular, pack a fiber punch!
Protein
You can expect 3-5 grams of protein in a slice of hearty artisan bread. While it may not be a protein powerhouse, pairing it with items like Turkey Bacon or Chicken Ham can boost your protein intake and create a balanced meal. For a little extra kick, consider topping your toast with an egg or some nut butter.
The nutritional value of artisan bread can change based on its ingredients and how it’s made. For more in-depth nutritional insights, you may want to check out resources like the USDA FoodData Central. Experimenting with different recipes and add-ins can also help tailor the bread to fit your dietary needs!
FAQs about Artisan Bread
How do I know if my bread dough is ready?
Determining if your dough is ready can be one of the more challenging aspects of mastering an artisan bread recipe. A simple test is the “poke test.” Gently poke the dough with your finger. If it springs back slowly and leaves a small indentation, it’s ready to shape! Alternatively, observe the dough’s rise—ideally, it should double in size. This process can take anywhere from 1 to 3 hours, depending on your environment. For more tips, check out the Artisan Bread Bakers Guild.
Can I use all-purpose flour instead of bread flour?
Yes, you can substitute all-purpose flour in a pinch, but it can affect the final product. Bread flour has a higher protein content, which contributes to a chewier texture and better gluten development. If using all-purpose flour, consider adding a tablespoon of vital wheat gluten per cup of flour to enhance the dough’s elasticity. Many bakers recommend experimenting to find the right combination that suits your taste!
How can I store leftover artisan bread?
Storing your leftover artisan bread properly is key to maintaining its delicious texture. Here’s how to do it:
- Room Temperature: Keep it in a bread box or wrap it in a clean kitchen towel. Avoid plastic bags, as they trap moisture and can make the crust soggy.
- Freezing: If you have a larger loaf, slice it, then wrap in plastic wrap and foil before placing it in the freezer. This ensures the bread stays fresh for up to three months.
- Reviving Stale Bread: If your bread has lost its freshness, you can lightly mist it with water and warm it in the oven for about 5–10 minutes to restore its crustiness.
Feel free to share your own baking tips or questions in the comments below!
Conclusion on Artisan Bread
Embracing the joy of homemade bread
Creating your own artisan bread at home is more than just following a recipe; it’s a delightful experience that nourishes both body and spirit. There’s something incredibly satisfying about kneading the dough and watching it rise, knowing you’ve crafted something special from scratch. Whether you’re enjoying a slice fresh from the oven or sharing with friends, each loaf holds a story.
As you explore this artisan bread recipe, remember that practice makes perfect. Don’t be afraid to experiment with flavors and techniques. For more inspiration, check out resources from the Bread Bakers Guild or King Arthur Baking. Happy baking!
PrintArtisan Bread Recipe: The Best Homemade Loaf for Your Kitchen

Discover how to make the perfect artisan bread at home with this comprehensive recipe that guarantees a delicious loaf.
- Prep Time: 15 minutes
- Cook Time: 45 minutes
- Total Time: 13 hours
- Yield: 1 loaf
- Category: Bread
- Method: Baking
- Cuisine: French
- Diet: Vegetarian
Ingredients
- 3 cups all-purpose flour
- 1 1/2 teaspoons salt
- 1/4 teaspoon instant yeast
- 1 1/2 cups water
Instructions
- In a large bowl, mix the flour, salt, and yeast together.
- Add water and stir until a shaggy dough forms.
- Cover the bowl with plastic wrap and let the dough rise for 12 to 18 hours at room temperature.
- After the rise, turn the dough onto a floured surface and shape it into a ball.
- Let the dough rest for 30 minutes.
- Preheat your oven to 450°F (232°C) and place a Dutch oven inside to heat.
- Once heated, carefully place the dough into the Dutch oven and cover it.
- Bake for 30 minutes covered, then remove the lid and bake for an additional 15 minutes until golden brown.
Notes
- For a crustier loaf, use a baking stone instead of a Dutch oven.
- Do not skip the long fermentation time for best results.
Nutrition
- Serving Size: 1 slice
- Calories: 150
- Sugar: 0 g
- Sodium: 320 mg
- Fat: 1 g
- Saturated Fat: 0 g
- Unsaturated Fat: 0 g
- Trans Fat: 0 g
- Carbohydrates: 30 g
- Fiber: 1 g
- Protein: 5 g
- Cholesterol: 0 mg


")