
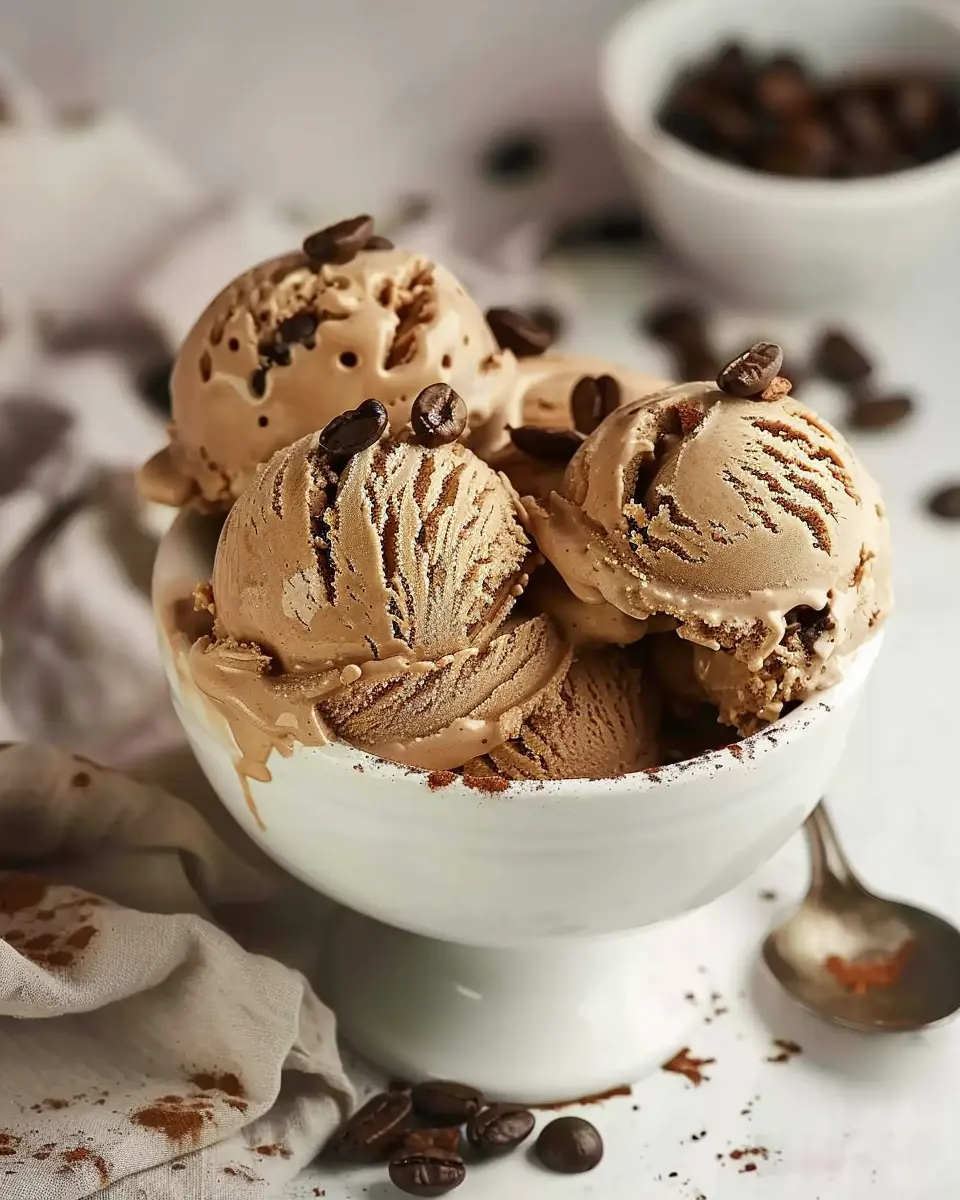
Introduction to No-Churn Coffee Ice Cream
No-churn ice cream is a total game changer for dessert lovers, especially for those of us who often find ourselves short on time but craving something sweet. The beauty of no-churn recipes lies in their simplicity—no ice cream maker is needed, and you can whip up a batch in minutes. This flexibility means you have more time to enjoy your delicious creations instead of spending it on extensive prep work. With just a few ingredients that you probably already have in your kitchen, you can create a creamy and rich treat without the hassle.
Imagine this: a hot summer day, and you’re looking for a quick pick-me-up. How about a homemade scoop of no-churn coffee ice cream ready to cool you down? Coffee lovers, or anyone looking for a sweet treat with a caffeine kick, this recipe is for you! It combines the robust flavor of your favorite coffee with a smooth, cold dessert that’s bound to satisfy.
Why No-Churn Ice Cream is Perfect for Busy Weekdays
- Quick and Easy: With no extensive churning required, preparing no-churn ice cream is a breeze. Just mix a few ingredients, freeze, and voila!
- Customizable: Feel free to experiment with flavors! Adding spices, chocolate chunks, or even seasonal fruits allows each batch to be unique. Check out this guide on versatile ice cream flavors from Serious Eats for inspiration.
- Budget-Friendly: Often, store-bought ice cream can add up quickly. Making your own can be a fun and economical way to enjoy a gourmet dessert at home.
As we dive deeper into the delectable world of no-churn coffee ice cream, you’ll discover not just how simple it is to create, but also why it’s such a popular choice among home cooks and bakers alike. You can even share your creations on social media or with friends—what better way to impress than with a homemade treat? Get ready to indulge in a deliciously smooth and satisfying dessert that will leave you counting down the minutes till it’s ready!

Ingredients for No-Churn Coffee Ice Cream
Making delightful no-churn coffee ice cream at home is not only delicious but incredibly easy! You’ll need just a few simple ingredients to whip up this creamy treat that’s perfect for warm evenings or a quick dessert fix.
Essential Ingredients
-
Heavy Cream: 2 cups
-
This will give your ice cream that rich, velvety texture.
-
Sweetened Condensed Milk: 1 cup
-
It adds sweetness and creaminess without needing to churn the mixture.
-
Instant Coffee Granules: 2 tablespoons
-
Choose a quality brand for the best flavor. This is where your coffee dreams come true!
-
Vanilla Extract: 1 teaspoon
-
A hint of vanilla enhances the ice cream’s overall flavor profile.
-
Pinch of Salt: Just a tiny bit!
-
Helps to bring out the sweetness in the condensed milk and coffee.
Optional Mix-ins
Feel free to add in chocolate chips or a drizzle of caramel for an extra touch! And if you’re a fan of experimenting, check out our suggestions for enhancing flavors at this trusted site.
Creating your own no-churn coffee ice cream is not just rewarding; it’s also a fun way to delight friends and family. So, gather these ingredients, and let’s get started!
Step-by-Step Preparation of No-Churn Coffee Ice Cream
Creating your own no-churn coffee ice cream might sound intimidating, but I assure you it’s easier than you think! With just a few ingredients and a bit of patience, you can whip up this delightful treat right in your kitchen—even if you don’t have an ice cream maker. Let’s dive in!
Gather your ingredients
Before you get started, let’s ensure you have everything you need. The beauty of this recipe is its simplicity. Here’s what you’ll need:
- 2 cups heavy cream
- 1 cup sweetened condensed milk
- 2 tablespoons espresso powder (or more, depending on your caffeine cravings)
- A pinch of salt
- Optional: Chocolate shavings or coffee bean garnish
Make sure your ingredients are fresh—especially the heavy cream! For added convenience, you can grab these items from your local grocery store. If you’d like to learn more about the benefits of using high-quality ingredients, check out this article from The Spruce Eats.
Whip the heavy cream to perfection
Now that you have your ingredients assembled, it’s time to get the heavy cream whipped. This is a critical step for achieving that creamy texture we all love in ice cream. Here’s how to do it:
-
Chill your mixing bowl: For best results, place your mixing bowl in the freezer for about 10-15 minutes. A cold bowl helps the cream whip faster.
-
Beat the cream: Using an electric mixer or a whisk, start whipping the heavy cream on medium-high speed. You want to achieve stiff peaks, which means when you lift the whisk, the peaks stand straight up without drooping. This usually takes around 3-5 minutes.
Be cautious not to over-whip, as you could accidentally turn it into butter. If you’ve never whipped cream before, think of it as a dance—fast and slow, an easy rhythm, and, of course, a bit of patience goes a long way!
Mix the sweetened condensed milk with espresso powder
While your cream is reaching that dreamy peak, it’s time to focus on your next mix. In a separate bowl, combine the sweetened condensed milk with the espresso powder. Here’s how:
-
Blend well: Use a whisk or a fork to mix everything together until the espresso powder is completely dissolved. This can take just a couple of minutes.
-
Add a pinch of salt: This will enhance the flavors beautifully, balancing the sweetness of the condensed milk.
If you’re looking for more ways to incorporate espresso into desserts, check out this thorough guide on Coffee Flavors.
Fold in the whipped cream for a creamy texture
Now comes the fun part! Gently fold the whipped cream into your espresso and condensed milk mixture. Folding is an essential technique that helps to maintain the airy texture of the whipped cream. Here’s how you can do it:
-
Add a dollop: Take a third of your whipped cream and add it to the bowl with the coffee mixture. Gently stir to lighten the base.
-
Incorporate the rest: Slowly add the remaining whipped cream, using a spatula to fold it in gently. Work from the bottom and fold over the top. Repeat until just combined.
This is where you’re creating a beautiful, light texture that will give your ice cream that heavenly mouthfeel everyone loves.
Transfer the mixture to a freezer-safe container
The final step is to store your no-churn coffee ice cream mixture so it can freeze to perfection. Grab a freezer-safe container with a lid and follow these steps:
-
Pour the mixture: Transfer the combined ice cream mixture into your container. Use a spatula to smooth out the top if you like.
-
Cover it up: Seal the container tightly to prevent ice crystals from forming. You can lay a piece of parchment paper on top of the mixture before sealing to ensure a firmer texture.
-
Freeze: Place your container in the freezer for at least 6 hours, or if you can, overnight is even better. This waiting game will build anticipation!
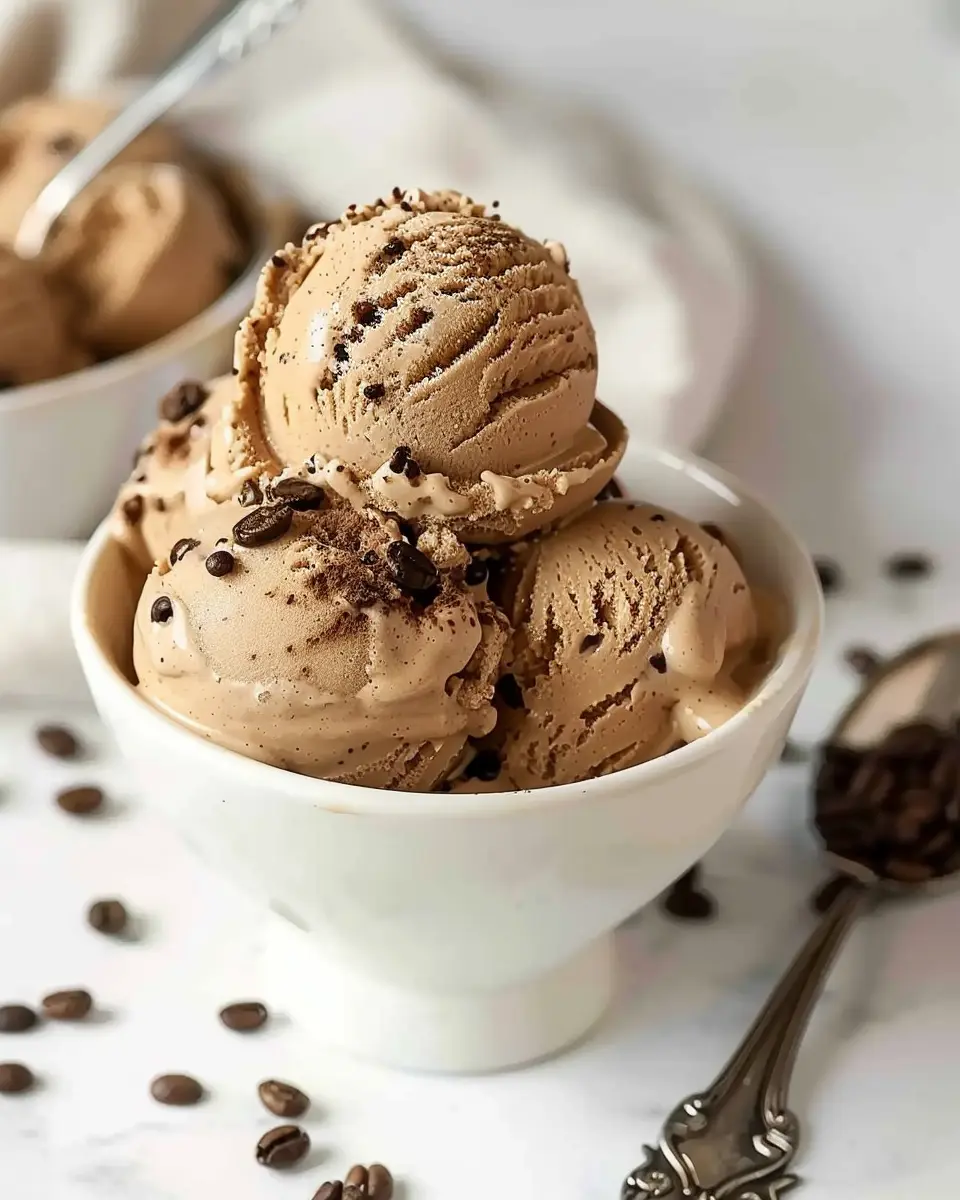
When you finally scoop into your homemade no-churn coffee ice cream, you’ll feel like a true culinary champion. Enjoy every creamy, dreamy bite!
Variations on No-Churn Coffee Ice Cream
Mocha Chip Ice Cream
If you love everything mocha, this variation on no-churn coffee ice cream is a must-try! By adding rich chocolate chips and a splash of cocoa powder to the basic mixture, you’ll transform your ice cream into a delightful mocha treat.
- Ingredients:
- 1 cup semi-sweet chocolate chips
- 1/2 cup unsweetened cocoa powder
- Instructions:
- Fold the cocoa powder into your coffee mixture.
- Stir in the chocolate chips before freezing.
This combination creates a beautifully balanced dessert that pairs perfectly with a morning espresso or as an after-dinner indulgence. For a bonus twist, consider adding some crushed dark chocolate-covered espresso beans for an extra crunch!
Espresso Fudge Swirl Ice Cream
For those who crave a richer coffee experience, the espresso fudge swirl is a breathtaking option. This variation elevates your no-churn coffee ice cream with luscious ribbons of fudge that meld beautifully with the coffee.
- Ingredients:
- 1 cup chocolate fudge sauce
- 1 tablespoon instant espresso powder (optional)
- Instructions:
- Mix the instant espresso powder into your ice cream mixture.
- When transferring to a container, drizzle the fudge sauce and gently swirl with a knife for that gorgeous marbled effect.
You’ll find that the coffee flavor complements the deep chocolate, making it a perfect dessert for entertaining or simply treating yourself. Check out Serious Eats for tips on making a quick homemade fudge sauce that will impress your friends.
Incorporating these variations into your ice cream game will not only impress your taste buds but also elevate your dessert experience. Enjoy experimenting!
Cooking Tips and Notes for No-Churn Coffee Ice Cream
Making no-churn coffee ice cream is not only a delightful treat but also a straightforward process. Here are some friendly tips to ensure your ice cream comes out perfectly every time:
Use Quality Ingredients
For a rich flavor, choose high-quality coffee beans or espresso. Freshly brewed coffee works wonders! For an extra kick, consider adding coffee liqueur or even a sprinkle of instant coffee granules to enhance the coffee essence.
Mixing Matters
When whipping your cream, aim for soft peaks. Over-whipping can lead to a grainy texture, while under-whipping might not provide the desired creaminess. A hand mixer or stand mixer makes this part easy if you’re short on elbow grease.
Experiment With Mix-Ins
Why stop at coffee? Add chocolate chips, nuts, or even some Turkey Bacon bits for a savory twist. These can elevate your no-churn coffee ice cream, giving it an unexpected kick that friends will love.
Patience is Key
Once you blend your ingredients, let the mixture freeze for at least six hours. If you can, freeze overnight for the best texture. Checking the ice cream every couple of hours and stirring helps achieve that creamy consistency.
Brew yourself a pot of coffee, and indulge in a delightful treat that’s simple to make! For more insights on coffee pairings, check out Coffee Affair. Happy scooping!
Serving Suggestions for No-Churn Coffee Ice Cream
When it comes to enjoying your no-churn coffee ice cream, the fun has only just begun! This creamy delight is versatile enough to become the star of various desserts, enhancing your culinary experience. Start by serving a generous scoop in a warm chocolate fudge brownie for a contrast that melts in your mouth. The combination of flavors and temperatures is simply irresistible.
Consider adding a drizzle of rich caramel sauce or a sprinkle of crushed espresso beans to elevate the flavor profile. Want to add some crunch? Try topping it with crushed turkey bacon for a savory twist or chicken ham bits for a unique pairing.
For a more refreshing touch, whip up a quick affogato by pouring a shot of hot espresso over a scoop of no-churn coffee ice cream. It’s a heavenly blend of hot and cold that coffee lovers will adore.
Curious about more ways to jazz it up? Check out sites like Coffee Affection for inspiration. Your guests will be impressed!
Time Breakdown for No-Churn Coffee Ice Cream
Preparation Time
Making no-churn coffee ice cream is a breeze! You’ll need about 15 minutes to gather your ingredients and whip them together. This quick prep time means you can indulge in a coffee-infused dessert in no time. Just think about how easy it is to impress your friends with this delightful treat.
Freezing Time
The hardest part? Waiting! You’ll want to freeze the mixture for at least 4-6 hours, ideally overnight, to achieve that creamy texture. During this time, kick back and relax—perhaps enjoying a warm cup of coffee while your dessert chills!
Total Time
In total, you’re looking at around 4 hours and 15 minutes from start to that first delicious scoop. Why not make it a fun weekend treat? Perfect for a cozy gathering or just a little self-care. For more on ice cream making, check out this comprehensive guide from Serious Eats.
Nutritional Facts for No-Churn Coffee Ice Cream
When indulging in homemade no-churn coffee ice cream, it’s essential to understand just what you’re enjoying. This delicious treat not only satisfies your sweet tooth but also provides some interesting nutritional points.
Calories
Each serving of no-churn coffee ice cream typically packs around 200–250 calories. While this might seem indulgent, it’s a delightful way to savor your coffee fix.
Fat
Get ready for a creamy experience! Expect approximately 15 grams of fat per serving, mainly from heavy cream. While that’s higher than some other desserts, it’s also what gives it that luxurious texture.
Sugar
On the sweetness scale, you’re looking at around 20 grams of sugar per serving. If you’re mindful about sugar intake, consider using natural sweeteners or adjusting the recipe to suit your taste.
This creamy treat is perfect for a weekend dessert or a Saturday night in, but balance is key! For more about ice cream nutrition, check out sources like the USDA or Healthline. Enjoy!
FAQs about No-Churn Coffee Ice Cream
Making no-churn coffee ice cream is a delightful adventure in the kitchen, and naturally, you might have questions along the way. Let’s tackle some frequently asked questions to enhance your ice cream-making experience!
How long does it take to freeze no-churn ice cream?
Great question! Once you’ve poured your no-churn coffee ice cream mixture into a suitable container, it typically takes about 4 to 6 hours to freeze completely. For best results, it’s ideal to let it freeze overnight. This allows the flavors to meld beautifully while achieving that creamy texture we all crave. Want a scoop sooner? Try placing it in the coldest part of your freezer.
Can I use decaffeinated coffee in the recipe?
Absolutely! If caffeine isn’t your cup of tea—oops, I mean coffee—feel free to swap in decaffeinated coffee. The essential flavors and richness will still shine through, allowing you to enjoy the indulgence of ice cream without the jitters. Just make sure to use a quality decaf brand, so you don’t lose out on the taste!
What’s the best way to store homemade ice cream?
To ensure your no-churn coffee ice cream maintains its delightful flavor and texture, store it in an airtight container. This will help prevent freezer burn and unwanted odors. If you find your ice cream hardening too much, simply leave it at room temperature for a few minutes before scooping. And don’t forget to enjoy it within 1 to 2 weeks—though I’m sure it won’t last that long!
For even more tips on homemade ice cream, check out resources like The Ice Cream Revolution or Serious Eats for expert advice!
Happy ice cream making!
Conclusion on No-Churn Coffee Ice Cream
In conclusion, no-churn coffee ice cream is not only a delightful treat but also a celebration of effortless indulgence. With just a few ingredients, you can create a creamy, coffee-flavored masterpiece that rivals any ice cream shop.
Consider serving it alongside homemade cookies for a special dessert experience, or simply enjoy it in a bowl while unwinding after a long day. The joy of crafting this simple yet satisfying dessert lies in its versatility—feel free to mix in your favorite add-ins like chocolate chips or nuts to personalize your version.
Ready to whip up your own? Check out resources like Epicurious for flavor variations and tips!
PrintNo-Churn Coffee Ice Cream: Indulgent Treat for Coffee Lovers
Indulge in this creamy and rich no-churn coffee ice cream, perfect for coffee lovers.
- Prep Time: 15 minutes
- Total Time: 6 hours 15 minutes
- Yield: 6 servings
- Category: Dessert
- Method: No-Churn
- Cuisine: American
- Diet: Vegetarian
Ingredients
- 2 cups heavy cream
- 1 cup sweetened condensed milk
- 1/2 cup brewed coffee, cooled
- 1 teaspoon vanilla extract
- 1/4 cup coffee grounds
Instructions
- In a large bowl, whip the heavy cream until stiff peaks form.
- In another bowl, combine sweetened condensed milk, cooled brewed coffee, vanilla extract, and coffee grounds.
- Gently fold the whipped cream into the coffee mixture until well combined.
- Pour the mixture into a container and freeze for at least 6 hours.
- Serve and enjoy your no-churn coffee ice cream!
Notes
- For extra richness, use full-fat condensed milk.
- Adjust the coffee strength according to your preference.
Nutrition
- Serving Size: 1 scoop
- Calories: 250
- Sugar: 24g
- Sodium: 50mg
- Fat: 18g
- Saturated Fat: 11g
- Unsaturated Fat: 5g
- Trans Fat: 0g
- Carbohydrates: 25g
- Fiber: 0g
- Protein: 3g
- Cholesterol: 70mg


")