
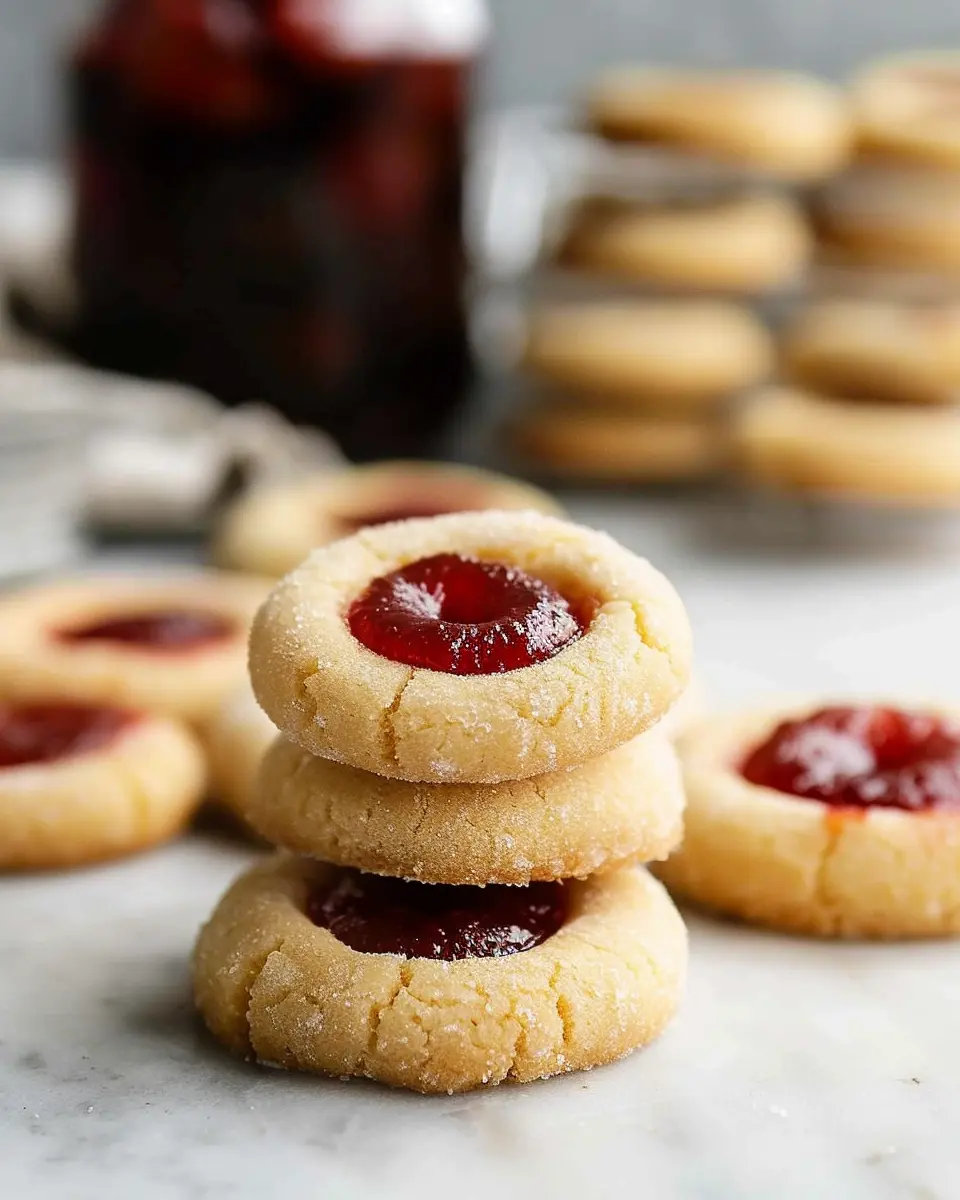
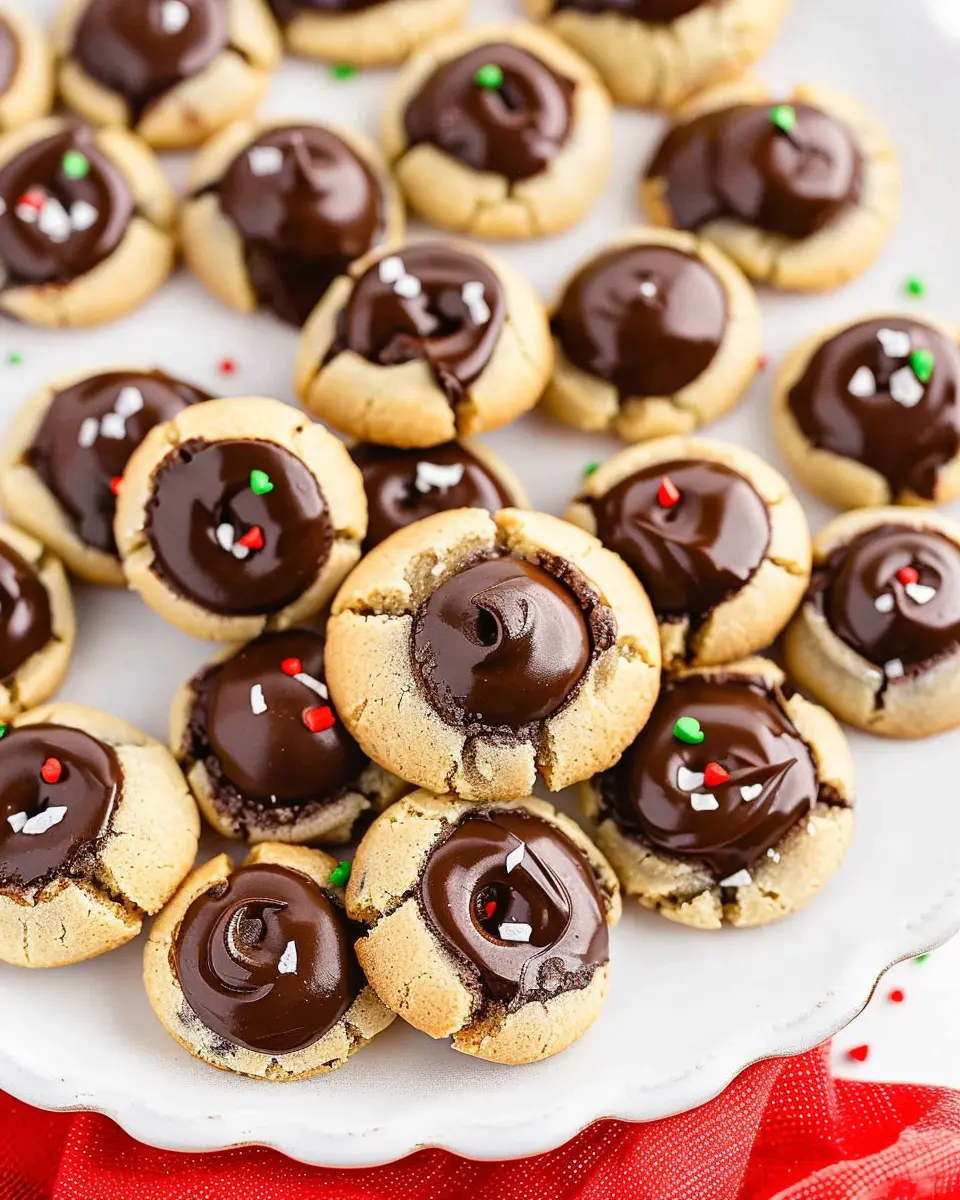
Introduction to Strawberry Thumbprint Cookies
When it comes to delightful treats, strawberry thumbprint cookies deserve a spot at the top of your baking list. These charming little cookies are not just a feast for the eyes; they pack a punch of flavor that can elevate any gathering, or simply brighten up your afternoon snack time. So, why should you give these cookies a try?
Why Strawberry Thumbprint Cookies are a Must-Try
Strawberry thumbprint cookies are the perfect blend of buttery goodness and sweet, tangy strawberry jam. The hallmark of this cookie is its thumbprint design, which creates a delightful little well for the luscious filling. This not only enhances their visual appeal but makes them easy to customize. Whether you’re a fan of strawberry, raspberry, or apricot, you can easily switch out the jam based on your taste preferences or what you have on hand.
Did you know that cookies can provide a sense of nostalgia? According to studies, the smell of baked goods can evoke pleasant memories, creating a feeling of comfort and joy. With that in mind, imagine your kitchen filled with the warm aroma of freshly baked strawberry thumbprint cookies! It’s an experience sure to make you smile, whether you’re baking solo or with friends.
Moreover, these cookies are simple to make, making them a great choice for both novice and experienced bakers. All you need are a few basic ingredients—like butter, sugar, flour, and, of course, your favorite strawberry jam. They come together effortlessly, giving you more time to enjoy your culinary creations.
And let’s not forget about sharing! These cookies are perfect for potlucks, coffee catch-ups, or simply as a sweet surprise for your loved ones. Pair them with a cup of steaming tea or coffee for a delightful afternoon break that anyone can cherish.
For a detailed guide on how to whip up these delicious cookies, try checking out this tutorial that breaks down the process even further. Trust us, your taste buds will thank you!

Ingredients for Strawberry Thumbprint Cookies
When it comes to baking, having the right ingredients on hand makes all the difference. For your delightful strawberry thumbprint cookies, you’ll need the following essentials:
- Unsalted Butter: 1 cup, softened. This is the base of your cookies, giving them that rich and creamy texture.
- Granulated Sugar: 3/4 cup. A little sweetness goes a long way in making these treats irresistible.
- Brown Sugar: 1/4 cup. This adds a nice depth of flavor and a hint of moisture.
- Egg Yolk: 1 large. This will help bind your ingredients together and make them nice and tender.
- Vanilla Extract: 1 teaspoon. For that lovely aromatic quality that enhances the overall flavor.
- All-Purpose Flour: 2 cups. This is the backbone of any cookie recipe, providing structure and chew.
- Baking Powder: 1 teaspoon. The magical ingredient that helps the cookies rise.
- Salt: A pinch, to balance the sweetness.
- Strawberry Jam: 1/2 cup (your favorite brand). This is going to be the star of the show, creating a delicious burst of flavor.
For more ingredient ideas or techniques, check out The Kitchn for fantastic baking tips! Happy baking!
Preparing Strawberry Thumbprint Cookies
Baking is all about creating connections—both with food and with those we share it with. Strawberry thumbprint cookies are a delightful treat that blends buttery texture with sweet strawberry jam, and preparing them is an enjoyable and fulfilling experience. Let’s dive into the detailed steps that will take your baking from good to great!
Gather Your Ingredients
Before you kick off a successful baking session, it’s essential to gather everything you’ll need. Here’s a quick list to ensure your strawberry thumbprint cookies come out just right:
- 1 cup unsalted butter, softened
- ¾ cup granulated sugar
- ½ cup brown sugar, packed
- 1 large egg yolk
- 2 teaspoons vanilla extract
- 2 ¼ cups all-purpose flour
- ½ teaspoon baking powder
- ½ teaspoon salt
- ½ cup strawberry jam (or your favorite fruit jam)
Having everything at your fingertips not only speeds up the process but keeps you focused on creating that perfect batch.
Mix the Wet Ingredients
In your mixing bowl, start by combining the softened butter, granulated sugar, and brown sugar. Use an electric mixer to cream these ingredients together until the mixture is light and fluffy—this usually takes about 2-3 minutes. The creaming process adds air into the batter, resulting in a nice, tender cookie.
Next, add the egg yolk and vanilla extract to the mix. While the egg yolk provides richness, the vanilla adds a welcoming aroma that hints at the delicious treat you’re about to create. Continue to beat until everything is well combined.
Combine Dry Ingredients with Wet Mixture
Now it’s time to bring the dry ingredients into the mix. In a separate bowl, whisk together the all-purpose flour, baking powder, and salt. Gradually add this dry mixture into your wet ingredients, mixing on low speed until just combined. It’s important not to overmix here; you want a cohesive dough without developing too much gluten, which could make your cookies tough.
Once combined, the dough will come together easily and might even resemble a soft playdough. If you want to learn more about the chemistry behind baking, check out this informative article on the science of baking.
Form the Cookie Dough
With your dough ready, it’s time to shape the cookies. Using a tablespoon or cookie scoop, portion out the dough and roll it into balls about an inch in diameter. Place the balls on a parchment-lined baking sheet, leaving about two inches of space between each one as they will spread a little during baking.
Create Indentations for the Jam
This is the fun part! Using your thumb (or the back of a small spoon if you prefer), create a deep indentation in each cookie dough ball. This is where the strawberry jam will go, creating that signature thumbprint look. Don’t be shy about making a generous well; after baking, the jam will sink slightly, giving you a perfect pocket of fruity joy.
Bake to Perfection
Preheat your oven to 350°F (175°C). Bake the cookies for about 12–15 minutes or until the edges are lightly golden. You want them to have a slight crispness on the outside while remaining soft inside. Once baked, allow the cookies to cool on the tray for a few minutes before transferring to a wire rack. The aroma will fill your kitchen, making it feel warm and inviting.
Final Thoughts: Baking strawberry thumbprint cookies is not just about the end result; it’s about enjoying the process. So, gather your friends or family, make it a fun baking day, and savor these beautiful cookies together! Don’t forget to share your creations; everyone loves a little sweet treat now and then.
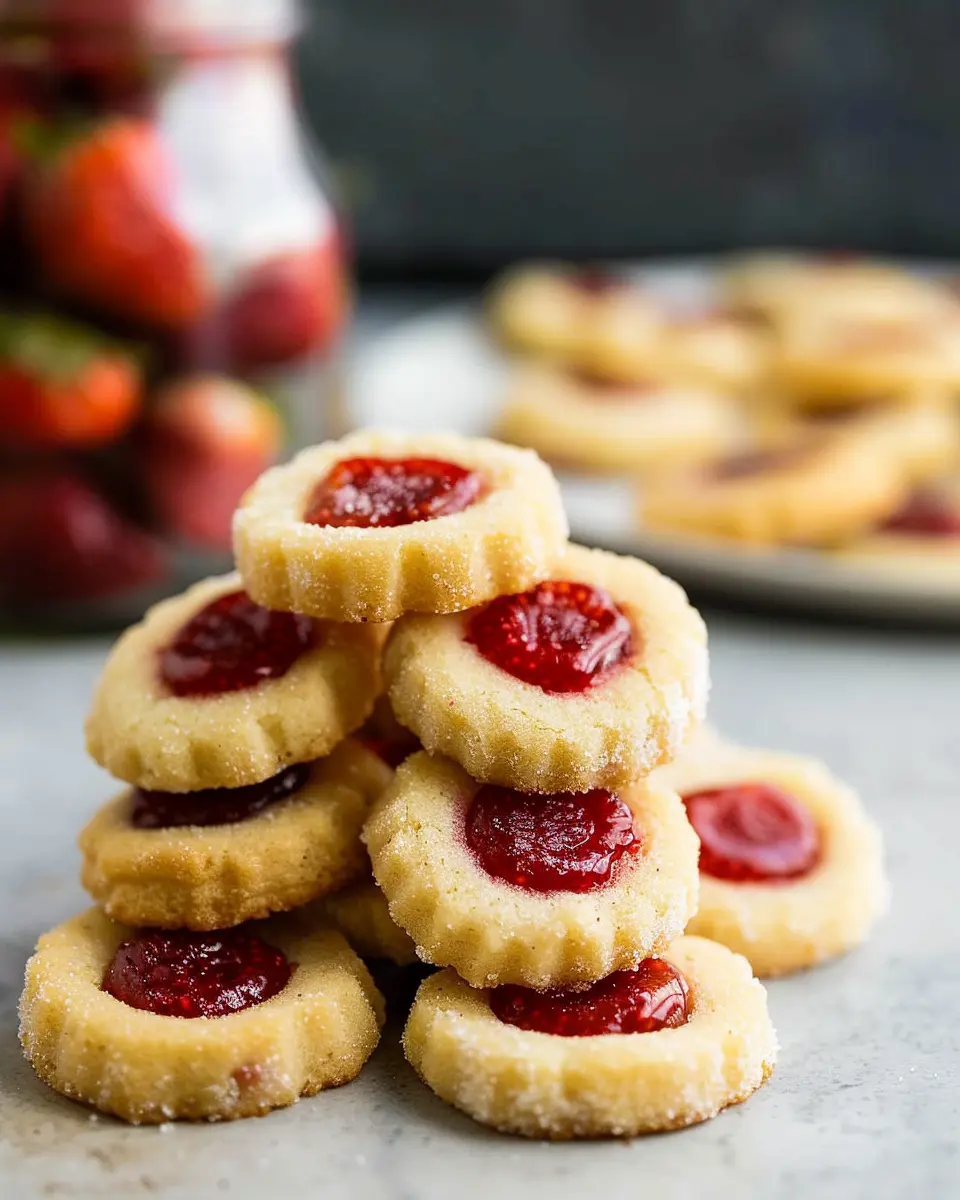
Variations on Strawberry Thumbprint Cookies
When it comes to strawberry thumbprint cookies, the classic version is just the beginning! Here are two delightful variations that are sure to impress your friends and family, whether you’re hosting a gathering or whipping up a cozy treat at home.
Classic Raspberry Jam Version
If you’re a fan of tangy flavors, you can’t go wrong with raspberry jam in your thumbprint cookies. Simply substitute the strawberry jam with your favorite raspberry variety. The vibrant red color and slightly tart flavor will add a delicious twist that complement the buttery cookie base beautifully. For an extra flourish, consider adding a sprinkle of lemon zest in the dough; it enhances the raspberry flavor and adds a bright zing, making your cookies irresistible. Curious about different types of jams? Check out this resource on perfecting jams and jellies for all the tips!
Nutella Thumbprint Cookies
For chocolate lovers, try making Nutella thumbprint cookies! Instead of jam, simply fill the indents with rich, creamy Nutella once your cookies are baked. This indulgent option adds a luxurious feel and is well-suited for entertaining or a sweet treat just for yourself. To elevate the flavor even further, sprinkle a pinch of sea salt on top before serving. The contrast between the rich chocolate and the sweet cookie is a match made in heaven. Plus, it’s a fantastic way to impress a date or friends without a lot of fuss!
These variations are not only simple to make, but they also allow you to tailor your cookies to suit your taste and preferences. Don’t hesitate to get creative and experiment with your favorite fillings!
Baking Notes for Strawberry Thumbprint Cookies
When making strawberry thumbprint cookies, there are a few important tips to keep in mind that will elevate your baking game.
Choosing the Right Strawberries
Opt for ripe, sweet strawberries for the filling. This not only adds delicious flavor but also ensures your cookies have great texture. Consider making your own strawberry jam if you want to control the sweetness and ingredients—it’s easier than you think!
Dough Consistency is Key
As you combine your ingredients, pay attention to the dough’s consistency. It should be soft but manageable. If it’s too sticky, a sprinkle of flour can help. Remember, overmixing can lead to tough cookies, so mix just until everything is combined.
Perfecting the Thumbprint
To create the perfect thumbprint, gently press your thumb into the cookie before baking. You want a nice indentation without going all the way through. This will hold the strawberry filling beautifully during baking.
These tips will help ensure your strawberry thumbprint cookies turn out delicious every time. Happy baking!
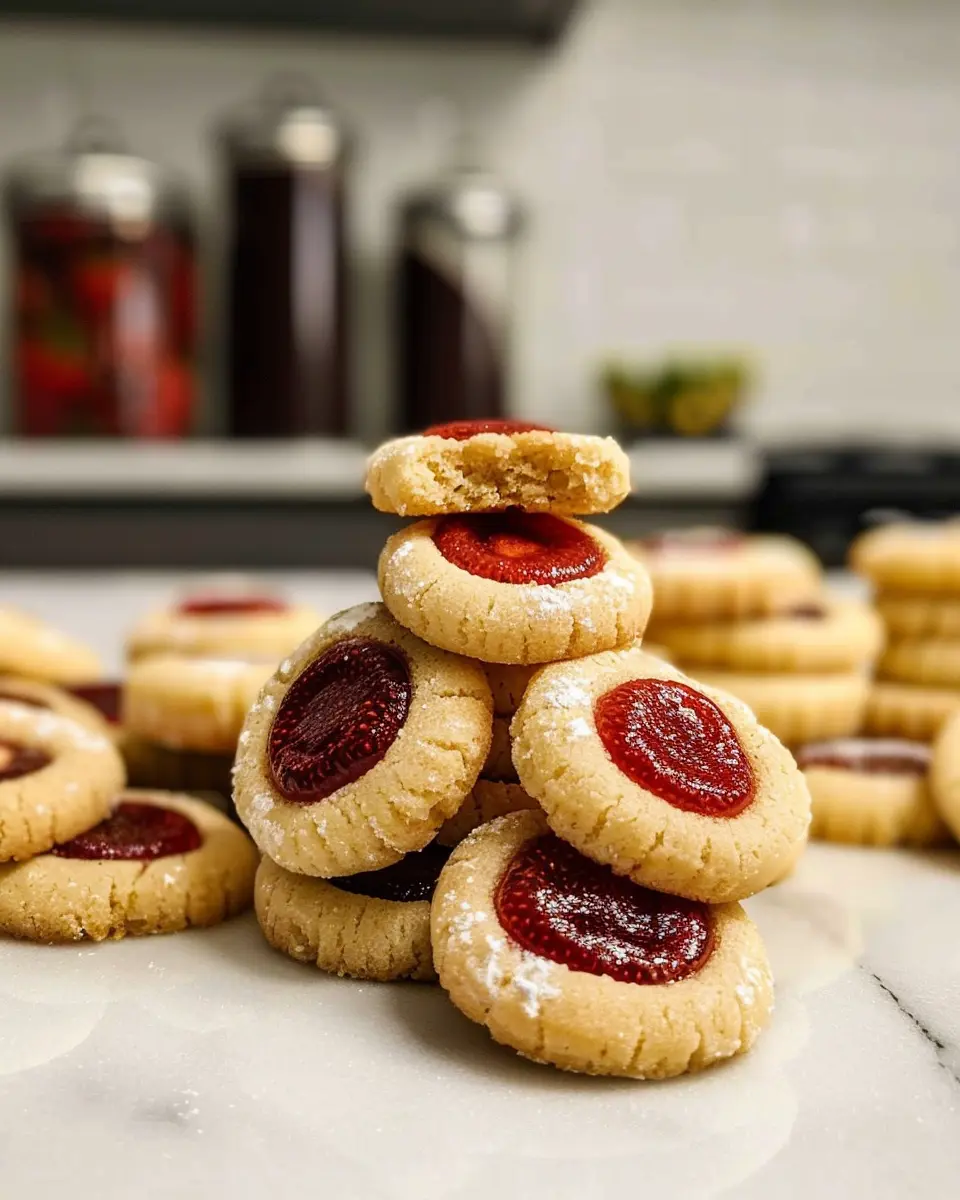
Serving Suggestions for Strawberry Thumbprint Cookies
When it comes to enjoying your delightful strawberry thumbprint cookies, pairing them with the right accompaniments can elevate your experience. Here are some creative ideas to enhance your cookie enjoyment:
Classic Coffee Pairing
A warm cup of coffee or a refreshing iced tea complements the sweetness of your cookies beautifully. The bitterness of coffee balances the fruity flavors of the strawberries, creating a delicious harmony. Consider choosing a smooth medium roast for an extra layer of richness.
Dessert Platter
Impress your guests by serving your strawberry thumbprint cookies on a dessert platter alongside:
- Mini cheesecakes
- Chocolate truffles
- Fresh fruit skewers
This variety not only adds visual appeal but also caters to diverse taste preferences.
Afternoon Snack
These cookies are also perfect for a mid-afternoon snack. Serve them with a smear of cream cheese or a dollop of Greek yogurt mixed with honey for a delightful twist. The creamy texture adds depth, creating a satisfying treat.
Gift Giving
Wrap your cookies in cute packaging or place them in a decorated box. They make a thoughtful gift for friends or colleagues, inviting warmth and joy to any occasion.
Don’t hesitate to explore more pairing ideas, as the versatility of strawberry thumbprint cookies can surprise you!
Tips for Perfecting Strawberry Thumbprint Cookies
Creating the ultimate strawberry thumbprint cookies is easier than you might think! Here are some helpful tips to elevate your baking game and impress everyone with these delightful treats.
Choose the Right Strawberries
Using fresh, ripe strawberries will significantly enhance the flavor of your cookies. Seasonal berries are generally sweeter and more juicy. If fresh strawberries aren’t available, try high-quality frozen or jarred varieties without added sugar. For an extra twist, consider adding a splash of lemon juice for brightness.
Mind Your Dough
The dough consistency is key to achieving the perfect texture. Make sure it’s chilled well before shaping the cookies. This helps maintain their shape during baking. If you’re feeling adventurous, include a pinch of salt or try different flours to create a unique flavor profile.
Use the Right Tools
When creating your thumbprints, use the back of a teaspoon or your thumb (clean, of course!) to make a well in the center of each cookie. This forms the perfect little pocket for your delicious strawberry jam. You can explore jams from crafts like Chowhound for great homemade suggestions!
Monitor Baking Time
Always keep an eye on your cookies as they bake. Ideally, they should be golden around the edges while remaining soft in the middle. Taking them out a minute or two early can result in that melt-in-your-mouth texture everyone loves.
By following these simple tips, you’ll transform your strawberry thumbprint cookies into a delightful crowd-pleaser that will have everyone asking for seconds!
Time Details for Strawberry Thumbprint Cookies
Preparation Time
Making strawberry thumbprint cookies is a delightful experience that usually takes about 15 to 20 minutes. You’ll want to have your ingredients ready—like butter, sugar, flour, and of course, that luscious strawberry jam. Gathering everything beforehand makes the process so much smoother!
Baking Time
The actual baking time for these cookies is around 12 to 15 minutes. You’ll know they’re ready when the edges turn a light golden brown, giving them that inviting touch. Don’t rush this part—it’s where the magic happens!
Total Time
In total, you can expect to invest about 30 to 35 minutes from start to finish. That’s less time than a coffee break! So why not whip up a batch when you have some spare moments? You can even set a timer for those moments of anticipation as the aroma fills your kitchen.
For more detailed tips on timing and execution, check out resources like the Food Network or Baker’s Journal for inspiration! Enjoy your baking experience, and savor the delicious results.
Nutritional Information for Strawberry Thumbprint Cookies
When you take a bite of these delightful strawberry thumbprint cookies, it’s not just about the taste; it’s also a chance to enjoy a sweet treat that fits into your daily nutritional goals. Here’s a quick look at what these cookies bring to the table:
Calories
Each cookie comes in at approximately 120 calories, making them a satisfying yet manageable indulgence when your sweet tooth calls.
Protein
With about 2 grams of protein per cookie, these morsels offer a small boost to help keep you feeling full, especially when paired with a glass of milk or a dairy alternative.
Sodium
You’ll find around 45 mg of sodium per cookie, which is quite low, so these strawberry thumbprint cookies won’t push your salt intake overboard.
For more detailed nutritional insights, check out resources like the USDA FoodData Central here.
FAQs about Strawberry Thumbprint Cookies
When you’re making strawberry thumbprint cookies, you might have a few questions. Here are some common inquiries answered to help you bake with confidence.
Can I use fresh strawberries instead of jam?
Absolutely! While jam is the traditional filling for strawberry thumbprint cookies, using fresh strawberries can add a delightful twist. Chop them finely and cook them down with a little sugar to create a quick homemade strawberry filling. This fresh alternative will have a slightly different texture, but it will definitely bring that vibrant, fruity essence to your cookies.
How do I store these cookies?
To keep your strawberry thumbprint cookies fresh and delicious, store them in an airtight container at room temperature. They should last for about a week. If you want to keep them longer, consider freezing them. Place the cooled cookies in a single layer on a baking sheet and freeze them until solid, then transfer them to a freezer-safe container. They can last for up to three months in the freezer, making them perfect for spontaneous cravings!
What can I substitute if I don’t have all-purpose flour?
If you’re in a pinch and don’t have all-purpose flour, there are several substitutes you can use. Here are a few options:
- Whole wheat flour: This can give your cookies a nuttier flavor and a denser texture.
- Oat flour: If you’re looking for a gluten-free alternative, oat flour is a great choice. Just ensure you check that it’s certified gluten-free if necessary.
- Almond flour: This adds a lovely flavor and moisture to your cookies, but you might need to adjust the liquid in your recipe slightly.
Experiment with these alternatives to find the perfect fit for your baking needs. Happy baking!
Feel free to check out resources like King Arthur Baking for more tips on flour substitutions and baking techniques.
Conclusion on Strawberry Thumbprint Cookies
In wrapping up our exploration of strawberry thumbprint cookies, let’s remember the sheer joy these little treats can bring to any gathering. Not only are they visually appealing, but they also boast a delightful blend of textures and flavors that are sure to impress your friends and family. Perhaps you’ll find your new favorite go-to dessert!
Don’t hesitate to put your spin on this recipe: try experimenting with different fillings or even swap out the butter for a plant-based alternative. If you’re craving more delight, pair these cookies with a cup of herbal tea or a scoop of vanilla ice cream. For more baking inspiration, check out sites like King Arthur Baking or Food Network for ideas that spark your creativity. Remember, the kitchen is your canvas—happy baking!
PrintStrawberry Thumbprint Cookies: Easy Delight for Homemade Treats
Delightful strawberry thumbprint cookies are perfect for any occasion.
- Prep Time: 15 minutes
- Cook Time: 15 minutes
- Total Time: 30 minutes
- Yield: 24 cookies
- Category: Desserts
- Method: Baking
- Cuisine: American
- Diet: Vegetarian
Ingredients
- 1 cup unsalted butter
- 1 cup granulated sugar
- 2 cups all-purpose flour
- 1 teaspoon vanilla extract
- 1/2 teaspoon salt
- 1 cup strawberry jam
Instructions
- Preheat the oven to 350°F (175°C).
- Cream together the butter and sugar until light and fluffy.
- Mix in the vanilla extract.
- Gradually add the flour and salt, mixing until combined.
- Shape the dough into small balls and place them on a baking sheet.
- Make a small indentation in the center of each ball.
- Fill each indentation with strawberry jam.
- Bake for 12-15 minutes or until golden.
- Let cool before serving.
Notes
- For a variation, try different fruit jams.
- Store cookies in an airtight container.
Nutrition
- Serving Size: 1 cookie
- Calories: 150
- Sugar: 10g
- Sodium: 50mg
- Fat: 7g
- Saturated Fat: 4g
- Unsaturated Fat: 2g
- Trans Fat: 0g
- Carbohydrates: 18g
- Fiber: 0g
- Protein: 2g
- Cholesterol: 30mg


")