
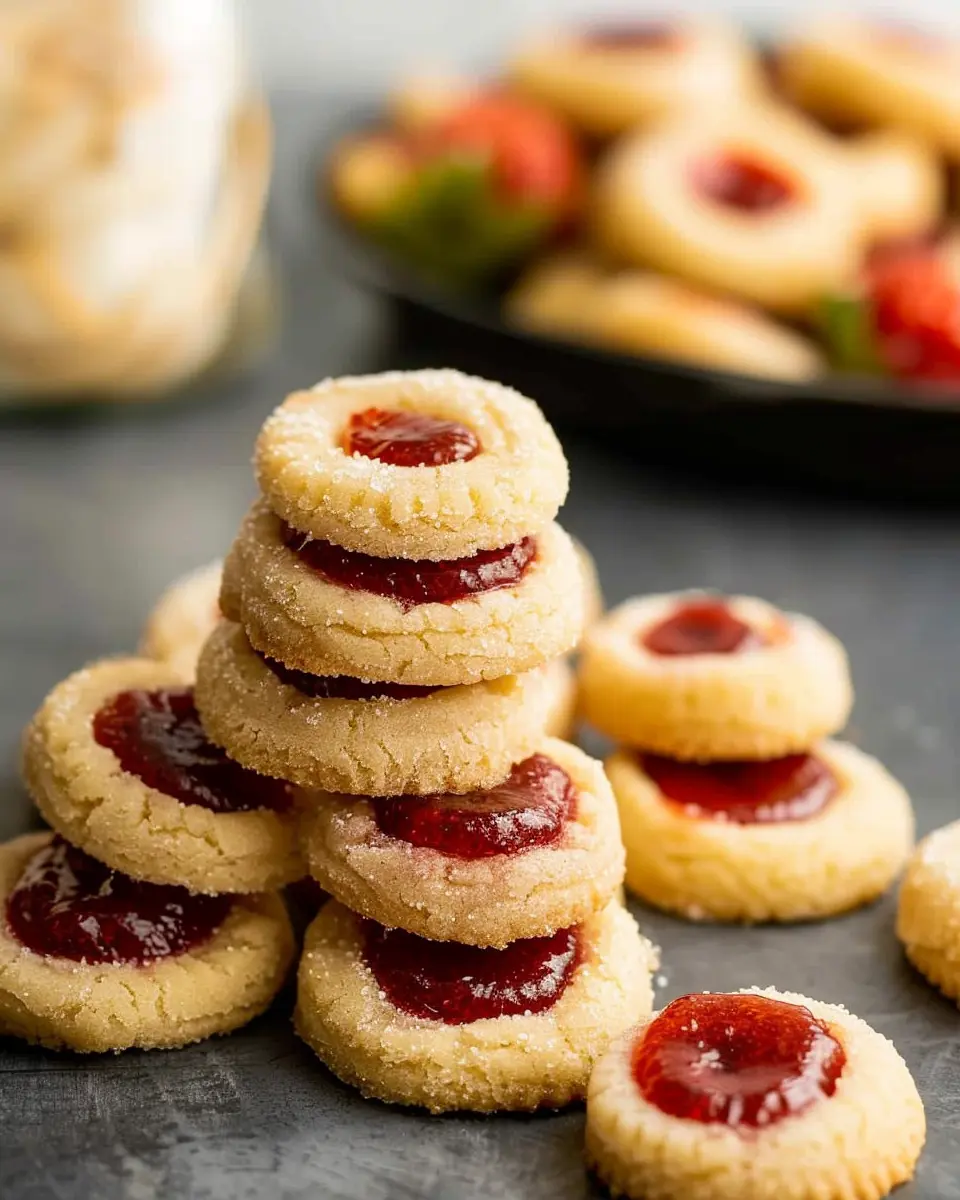
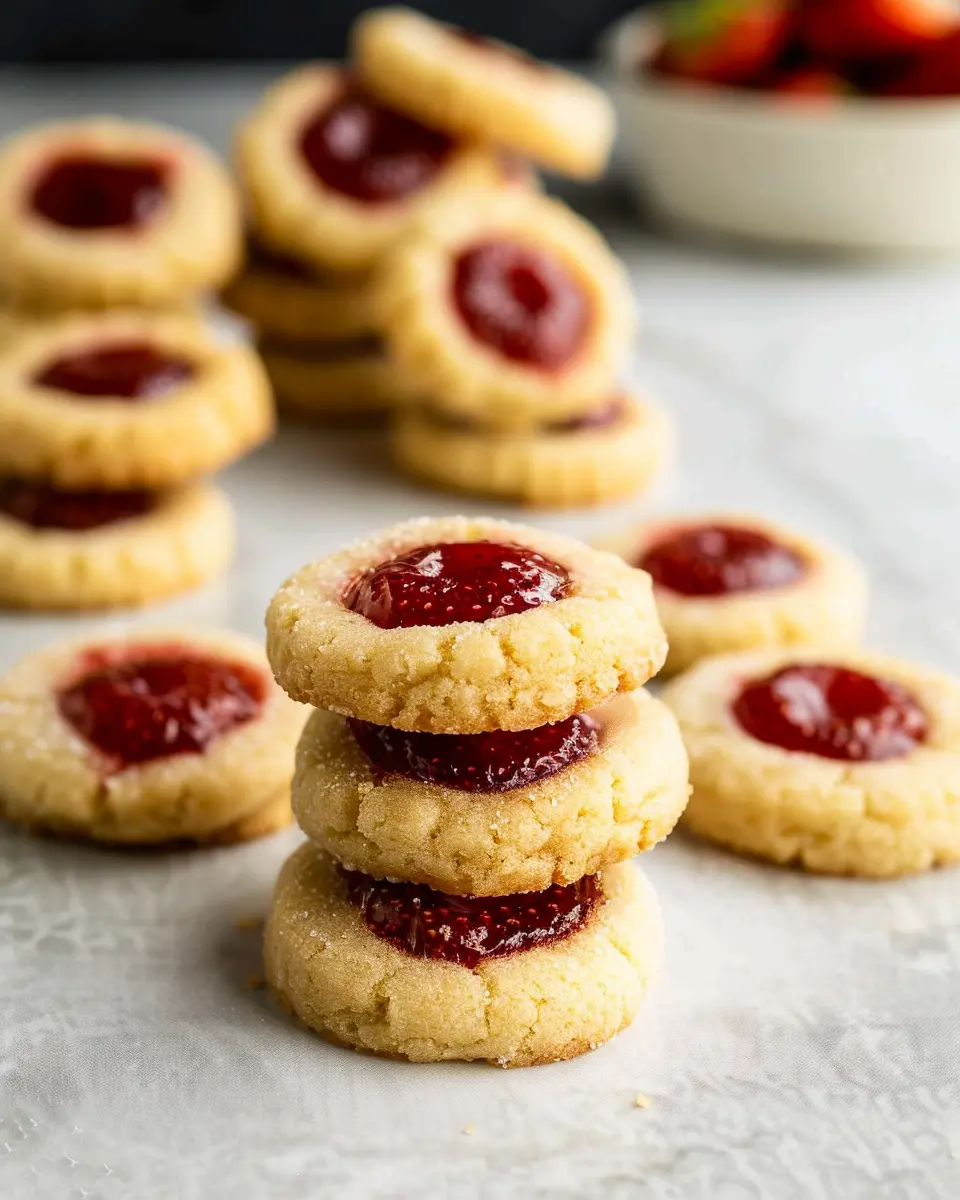
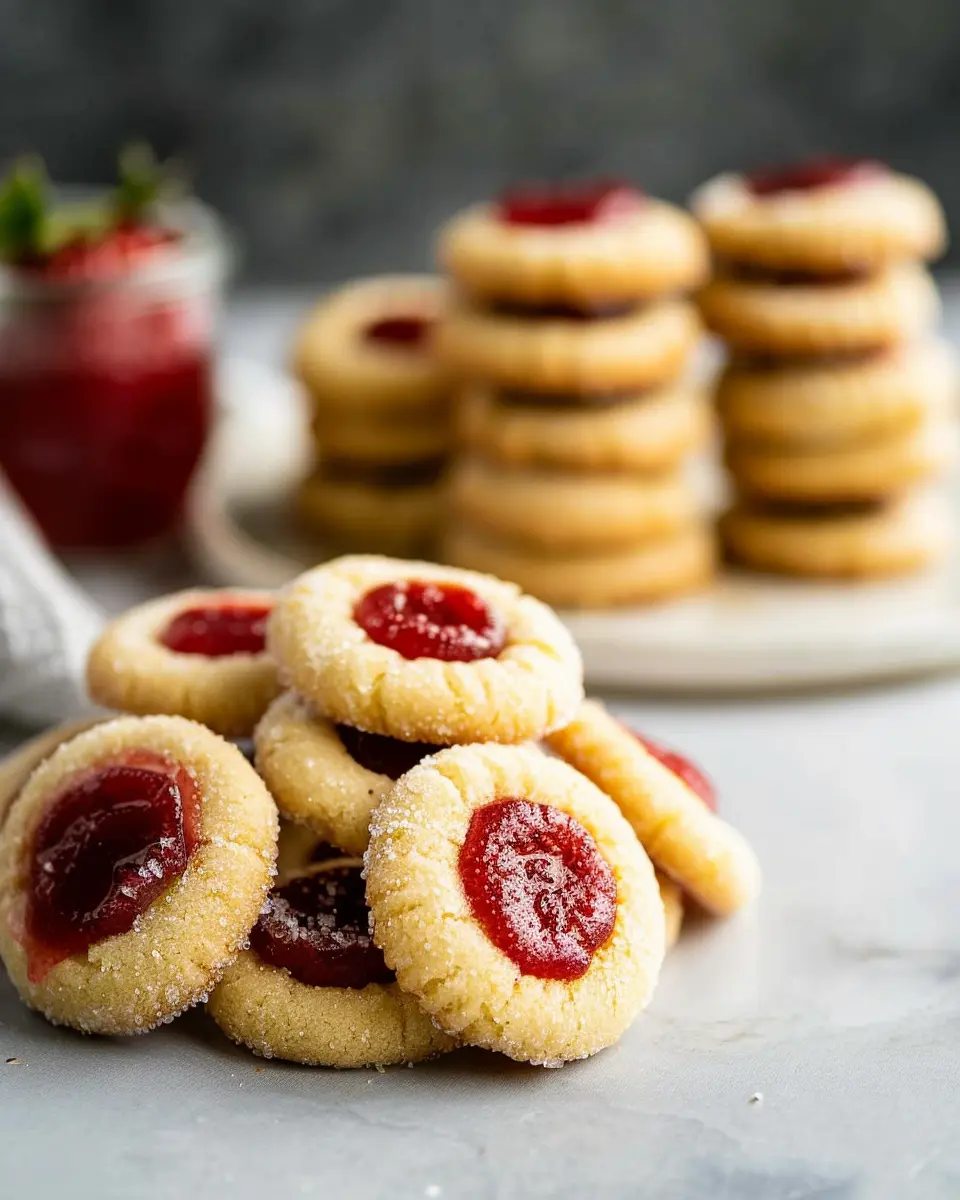
Introduction to Strawberry Thumbprint Cookies
Are you searching for a delightful treat that’s as easy to make as it is delicious? Look no further than strawberry thumbprint cookies. These charming little bites feature a buttery, melt-in-your-mouth cookie base with a luscious strawberry jam filling that makes them both visually appealing and irresistible. But why should you choose strawberry thumbprint cookies over other desserts?
Why choose strawberry thumbprint cookies?
First, let’s talk about the flavor. The combination of the rich, buttery cookie paired with the vibrant sweetness of strawberry jam creates a harmonious balance that tantalizes the taste buds. If you’re a fan of berries, you’ll love how this cookie captures the essence of summer in every bite.
They are also incredibly versatile. You can easily swap in your favorite jams, such as raspberry or apricot, to suit your tastes. This adaptability makes strawberry thumbprint cookies perfect for any occasion—from cozy gatherings with friends to festive holiday cookie exchanges. Plus, the technique of making thumbprint cookies is straightforward, making it an excellent activity for beginner bakers.
Think of it—wouldn’t it be satisfying to impress your friends and family with these delightful treats? And there’s nothing quite like the aroma of freshly baked cookies wafting through your kitchen. It not only creates a warm atmosphere but also invites friends to come together and share stories over a plate of warm cookies. According to a recent survey by the American Baking Association, 75% of people feel happier when they bake, and we can see why!
Whether you’re whipping them up for a casual brunch, a festive holiday gathering, or just because life should be a little sweeter, strawberry thumbprint cookies deliver on all fronts. They not only taste incredible but also spark nostalgia with every crumb. If you’re ready to give them a try, keep reading for the full recipe and more tips for success.
Let’s get baking and create some memories—one thumbprint at a time!

Ingredients for Strawberry Thumbprint Cookies
Creating the perfect batch of strawberry thumbprint cookies begins with gathering the right ingredients. Each item plays a crucial role in crafting these delightful treats. Here’s what you’ll need to bring your vision to life:
Essential Cookie Components
- 1 cup unsalted butter – Softened to room temperature for the best texture.
- 1 cup granulated sugar – Adds sweetness and helps achieve that lovely golden color.
- 2 large eggs – They provide structure and moisture.
- 3 cups all-purpose flour – The foundation for your cookies; sifted for lightness.
- ½ teaspoon salt – Balances sweetness and enhances flavor.
- 1 teaspoon vanilla extract – A touch of warmth to elevate the taste.
- ¾ cup strawberry jam – Your star ingredient; opt for a high-quality or homemade jam.
Tips for a Flavorful Experience
Feeling adventurous? Consider adding a sprinkle of lemon zest or almond extract to enhance the flavor profile. For detailed steps on how to prepare your jam, check out this homemade jam recipe. Keep in mind, the quality of your strawberry jam can make or break these delightful cookies, so choose wisely!
With these ingredients, you’re well on your way to creating a cookie that’s not only delicious but also a hit at gatherings. Happy baking!
Step-by-step Preparation of Strawberry Thumbprint Cookies
Making strawberry thumbprint cookies is not only a delightful baking adventure but also a fantastic way to impress friends and family with a crowd-pleasing treat. Ready to dive into the deliciousness? Here’s your step-by-step guide to creating these sweet morsels!
Gather your ingredients
Before you kick off your baking, take a moment to gather all your ingredients. This will make the process smoother and more enjoyable. You’ll need:
- 1 cup unsalted butter, softened
- 1 cup granulated sugar
- 1 large egg yolk
- 2 teaspoons vanilla extract
- 2 cups all-purpose flour
- 1/4 teaspoon salt
- 1/2 cup strawberry jam
- Optional: sprinkles for decoration
Having everything on hand means you won’t be scrambling for ingredients mid-recipe! It’s a small step that sets you up for success.
Prepare the wet mixture
In a large mixing bowl, beat the softened butter and sugar together until light and fluffy—this usually takes about 3-4 minutes. The texture should be creamy and inviting. Next, add in the egg yolk and the vanilla extract. Remember to scrape down the sides of the bowl to incorporate all ingredients. Mixing these wet ingredients well will help ensure that your strawberry thumbprint cookies are rich in flavor.
Mix the dry ingredients
In a separate bowl, whisk together the all-purpose flour and salt. It’s essential to combine these dry ingredients thoroughly to prevent any lumps in your cookie dough. This simple step can impact the final texture of your cookies; properly mixed flour helps the strawberry thumbprint cookies rise perfectly during baking.
Combine wet and dry mixtures
Now that you have your wet and dry mixtures ready, it’s time to join them together. Gradually add the dry mixture to the wet mixture, stirring gently until just combined. Avoid overmixing to ensure your cookies remain tender and soft. This is the moment when you can really start to envision how your cookies will come together!
Form the cookie dough
Once your dough is well combined, it’s time to form your cookies! Scoop out about a tablespoon of dough and roll it into a ball. You should be able to fit about one dozen of these on a standard baking sheet. This step is hands-on and fun—perfect for bringing those who enjoy baking into the kitchen!
Create indents and add sprinkles
Using your thumb (or the back of a rounded teaspoon), press down gently in the center of each dough ball to create an indent. This pocket is where your shiny strawberry jam will later go. If you’re feeling a bit festive, you can also roll the cookie balls in sprinkles before putting them on the baking sheet. Who doesn’t love a little extra flair?
Fill with strawberry jam
Once your indents are made, it’s time to fill those delicious little pockets! Spoon in about half a teaspoon of strawberry jam into each cookie. Make sure you don’t overfill them, as the jam may bubble over while baking. This is the highlight of the strawberry thumbprint cookies, adding that sweet and fruity burst!
Bake to perfection
Preheat your oven to 350°F (175°C) and pop your trays into the oven once it’s heated. Bake for about 12-15 minutes or until the edges are golden brown. The kitchen will fill with a heavenly aroma that reminds you of warm, homemade goodness. Check them a couple of minutes before the end time—every oven is a bit different!
Once baked, allow your cookies to cool on the tray for a few moments before transferring them to a wire rack to cool completely.
And there you have it: a friendly, inviting guide to crafting perfect strawberry thumbprint cookies! Enjoy them fresh with a cup of tea or coffee, or pack them into a cute box as a sweet gift for a friend. Happy baking!
Variations on Strawberry Thumbprint Cookies
Who doesn’t adore a classic strawberry thumbprint cookie? But why stop there? Let’s explore some delicious variations that will have you and your friends raving about your baking start-up!
Raspberry Thumbprint Cookies
If you love the sweet and tangy flavor profile, raspberry thumbprint cookies are an absolute must-try! Simply replace the strawberry jam with raspberry jam or preserves. You’ll get a delightful tartness that pairs wonderfully with the buttery cookie dough. For an extra touch, mix in a tablespoon of lemon zest into the dough for a refreshing zing.
Chocolate Hazelnut Thumbprint Cookies
For the chocolate lovers in your life, consider making chocolate hazelnut thumbprint cookies. This variation combines a delicious chocolate cookie base with a hazelnut spread like Nutella in the center. Instead of jam, scoop out a small well and fill it with the chocolate hazelnut delight. To make it extra special, sprinkle crushed hazelnuts on top before baking. It’s like a cookie and dessert blended into one!
Sugar-Free Thumbprint Cookies
You might be surprised how easy it is to whip up sugar-free thumbprint cookies! Use an all-natural sweetener like erythritol or stevia in place of sugar. The texture may vary slightly, but the flavors still shine through beautifully. For the filling, opt for a sugar-free jam or even homemade fruit compote made with fresh fruits and your sweetener of choice. Not only are they healthier, but you won’t sacrifice taste for guilt-free indulgence!
These variations offer a fantastic palette of flavors to accommodate every craving. So, when life gives you strawberries, feel free to branch out and experiment—you never know what delicious creations await!
Cooking Tips and Notes for Strawberry Thumbprint Cookies
When it comes to whipping up your strawberry thumbprint cookies, a few tips can make all the difference.
Avoiding Cookie Spread
To keep your cookies from spreading too much during baking, try chilling the dough for at least 30 minutes before spooning them onto the baking sheet. This quick step allows the butter to solidify, resulting in thicker cookies that maintain their shape. Remember to also use parchment paper to promote even baking and prevent sticking.
Perfecting the Jam Filling
The heart of these cookies is the jam, so choose a high-quality strawberry jam that’s a bit thick. If you can, make your own or opt for jam without added preservatives for a more authentic taste. When making the thumbprint, use your thumb or the back of a spoon to create a well that’s not too deep; this ensures the filling doesn’t overflow during baking. For a touch of flair, consider adding a sprinkle of lemon zest into the jam for a refreshing twist!
Using these tips guarantees that your strawberry thumbprint cookies will impress friends and family alike! For more great cooking tips, check out resources like the Food Network and Serious Eats.
Serving Suggestions for Strawberry Thumbprint Cookies
Pairing with Coffee or Tea
Pairing your strawberry thumbprint cookies with the perfect beverage can elevate your snack time to a delightful experience. Consider serving these cookies alongside a freshly brewed cup of coffee or a calming herbal tea. The sweetness of the strawberry jam beautifully complements the rich tones of a dark roast coffee or the light, floral notes of chamomile. Imagine settling down with a cookie in one hand and your favorite brew in the other—heavenly!
If you’re in the mood for something unique, try an iced matcha latte. The creamy, earthy flavor of matcha offers a nice contrast to the fruity cookies, creating a balance that tantalizes your taste buds.
Creative Presentation Ideas
Presentation can make a simple snack feel fancy. Arrange the strawberry thumbprint cookies on a tiered cake stand for a charming display. Dust a little powdered sugar on top for a touch of elegance, and add fresh strawberries or mint leaves as garnishes.
For a themed event or casual get-together, consider labeling the cookie variety with handmade tags. This little detail can make your dessert table not just tasty but visually appealing!
By incorporating these serving suggestions, your strawberry thumbprint cookies are sure to impress guests or create a special treat for yourself. If you’re looking for more inspiring tips, check out Serious Eats for a wealth of ideas on cookie pairings!
Time Breakdown for Strawberry Thumbprint Cookies
Preparation Time
Getting started on your strawberry thumbprint cookies doesn’t take long! You’ll need about 15 minutes to gather your ingredients and mix the dough. Make sure you have everything ready to ensure a smooth process—trust me, it makes a difference!
Baking Time
Once your dough is prepped, it’s time to bake! Expect around 12-15 minutes in the oven. You’ll want to keep an eye on them as they approach that golden-brown hue to avoid overbaking. The aroma that fills your kitchen will be worth the wait!
Total Time
In total, you’re looking at about 30 minutes from start to finish. Perfect for a quick treat or to impress guests at your next gathering. These cookies will have everyone asking for the recipe, so get ready for compliments!
For more delicious cookie recipes, check out this comprehensive guide on baking basics that could elevate your skills in the kitchen!
Nutritional Facts for Strawberry Thumbprint Cookies
When it comes to sweet treats like strawberry thumbprint cookies, it’s essential to understand their nutritional profile to enjoy them guilt-free. Here’s a quick breakdown:
Calories
One serving of these delightful cookies contains approximately 120 calories. This makes it easy to indulge without sabotaging your diet.
Sugar content
With around 8 grams of sugar per cookie, strawberry thumbprint cookies strike a balance between sweetness and flavor. If you’re mindful about sugar, consider using a natural sweetener like honey or maple syrup as alternatives.
Healthier ingredient swaps
Looking to lighten up the recipe? You can swap regular flour for almond flour for added nutritional benefits. Using unsweetened applesauce instead of butter can reduce calories while keeping the cookies moist and delicious!
For more on healthy baking, check out Healthline’s tips or consult the USDA’s guidelines on [sugar intake](https://www USDA.gov). Small changes can make a big difference in your favorite recipes!
FAQs about Strawberry Thumbprint Cookies
When it comes to baking, questions often pop up! Here are some commonly asked queries about strawberry thumbprint cookies to help you bake with confidence.
Can I make these cookies ahead of time?
Absolutely! You can prepare the cookie dough up to two days in advance. Just wrap it well in plastic wrap and store it in the refrigerator. When you’re ready to bake, allow the dough to sit at room temperature for about 15 minutes before rolling into balls and making the thumbprints. You can also bake these cookies ahead and freeze them for up to three months! Simply layer them in an airtight container with parchment paper between cookies to avoid sticking.
What can I substitute for strawberry jam?
If you’re not a fan of strawberry jam or simply want to switch things up, you have plenty of options. Consider using other fruit jams like raspberry, apricot, or even lemon curd for a zesty twist. You can also make your own fruit filling by cooking down fresh or frozen fruit with a bit of sugar and cornstarch until thickened—this is an easy way to customize strawberry thumbprint cookies to your taste!
How do I store leftover cookies?
To keep your strawberry thumbprint cookies fresh, store them in an airtight container at room temperature for up to a week. If you prefer them a bit firmer, pop them in the fridge for a cool treat. For longer storage, consider freezing them; just make sure to use the same layering technique mentioned earlier. For more tips on baking and cookie storage, check out resources like the American Institute for Cancer Research for healthy dessert ideas.
By addressing these FAQs, you can make your baking experience enjoyable and stress-free!
Conclusion on Strawberry Thumbprint Cookies
In conclusion, strawberry thumbprint cookies are the perfect blend of nostalgia and comfort, making them a must-try for any baking enthusiast. With their buttery, melt-in-your-mouth texture combined with the sweet and tangy strawberry jam, these cookies are sure to brighten any occasion.
Baking these treats is not just about satisfying a sweet tooth; it’s an opportunity to create memories with friends and family. Whether you enjoy them with a cup of tea or as an after-dinner delight, they’re bound to become a staple in your recipe collection. So, what are you waiting for? Roll up your sleeves, grab your ingredients, and let the baking begin!
For more delicious ideas, check out this strawberry dessert recipe or explore alternative jams for your cookies at Food Network.
PrintStrawberry Thumbprint Cookies: Easy Treats for Sweet Moments

Sweet and delightful, these Strawberry Thumbprint Cookies are perfect for any moment.
- Prep Time: 30 minutes
- Cook Time: 20 minutes
- Total Time: 50 minutes
- Yield: 24 cookies
- Category: Dessert
- Method: Baking
- Cuisine: American
- Diet: Vegetarian
Ingredients
- 1 cup unsalted butter, softened
- 3/4 cup granulated sugar
- 2 large eggs
- 1 teaspoon vanilla extract
- 3 cups all-purpose flour
- 1 teaspoon baking powder
- 1/2 teaspoon salt
- 1 cup strawberry jam
Instructions
- Preheat your oven to 350°F (175°C).
- In a mixing bowl, cream the butter and sugar together until fluffy.
- Add in the eggs one by one, followed by the vanilla extract.
- In a separate bowl, whisk together the flour, baking powder, and salt.
- Gradually add the dry ingredients to the wet mixture and stir until just combined.
- Roll the dough into balls and place them on a baking sheet.
- Press your thumb into the center of each ball to create a well.
- Fill each well with strawberry jam.
- Bake for 15-20 minutes or until lightly golden.
- Let cool before serving.
Notes
- For a twist, try using different fruit jams!
- Ensure butter is softened for ease of mixing.
Nutrition
- Serving Size: 1 cookie
- Calories: 120
- Sugar: 10g
- Sodium: 50mg
- Fat: 7g
- Saturated Fat: 4g
- Unsaturated Fat: 3g
- Trans Fat: 0g
- Carbohydrates: 15g
- Fiber: 0g
- Protein: 1g
- Cholesterol: 30mg


")